새 프로젝트를 Empty Activity로 만들자.
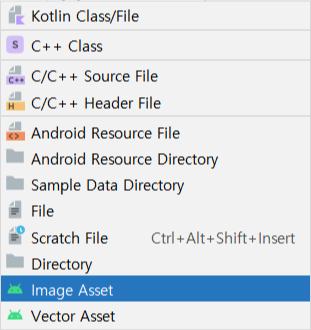
res폴더를 우클릭하여 New를 누른 후 Image Asset을 선택하여 앱의 아이콘을 만들수있다.
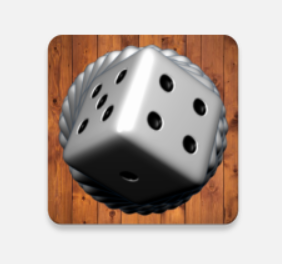
Source Asset에서 path에서 가져올 아이콘에 쓸 사진의 경로를 지정할수있다.
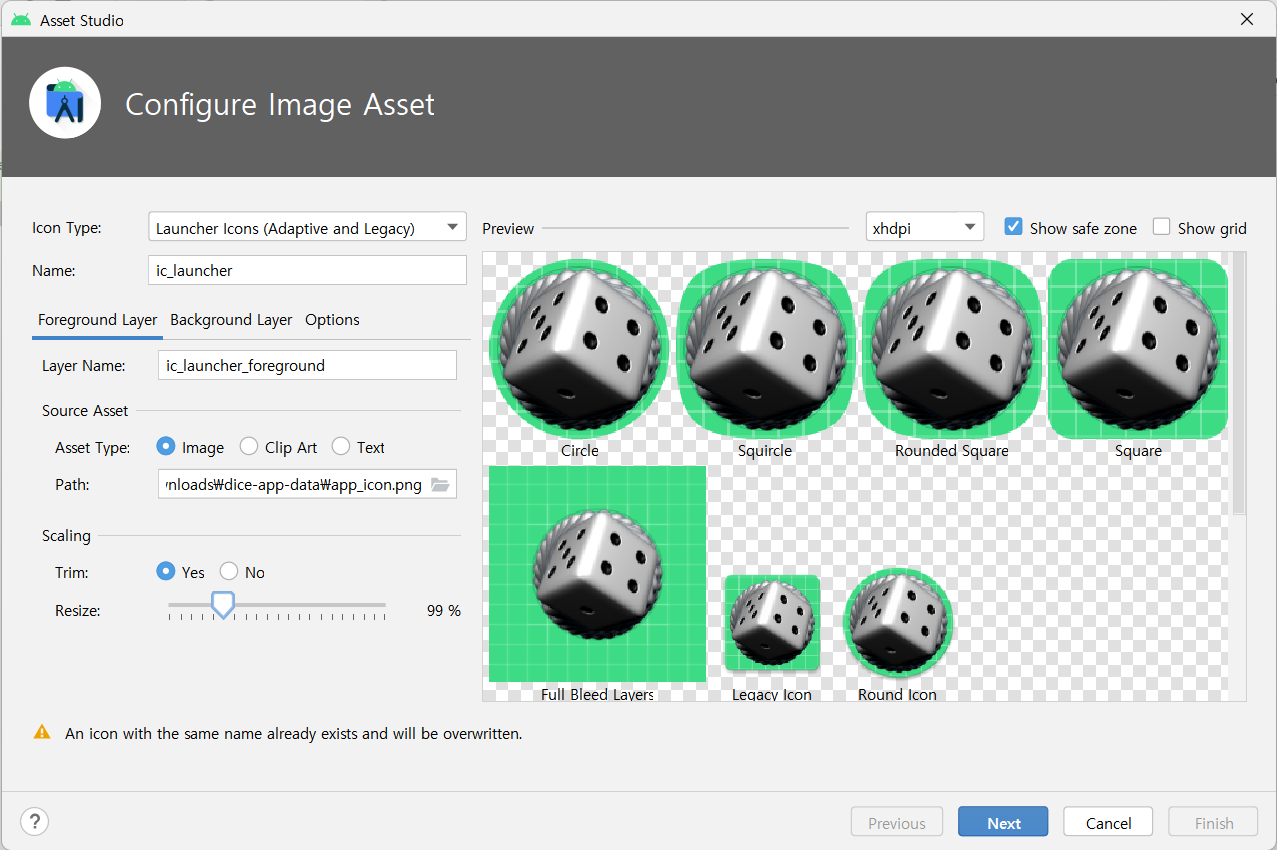
# Download 혹은 Download 경로는 보통 Users 폴더를 통해 진입할수있다.
# Trim과 Resize를 조정하여 크기를 설정할수있다.
Backgroud Layer로 아이콘의 배경을 설정할수있다.
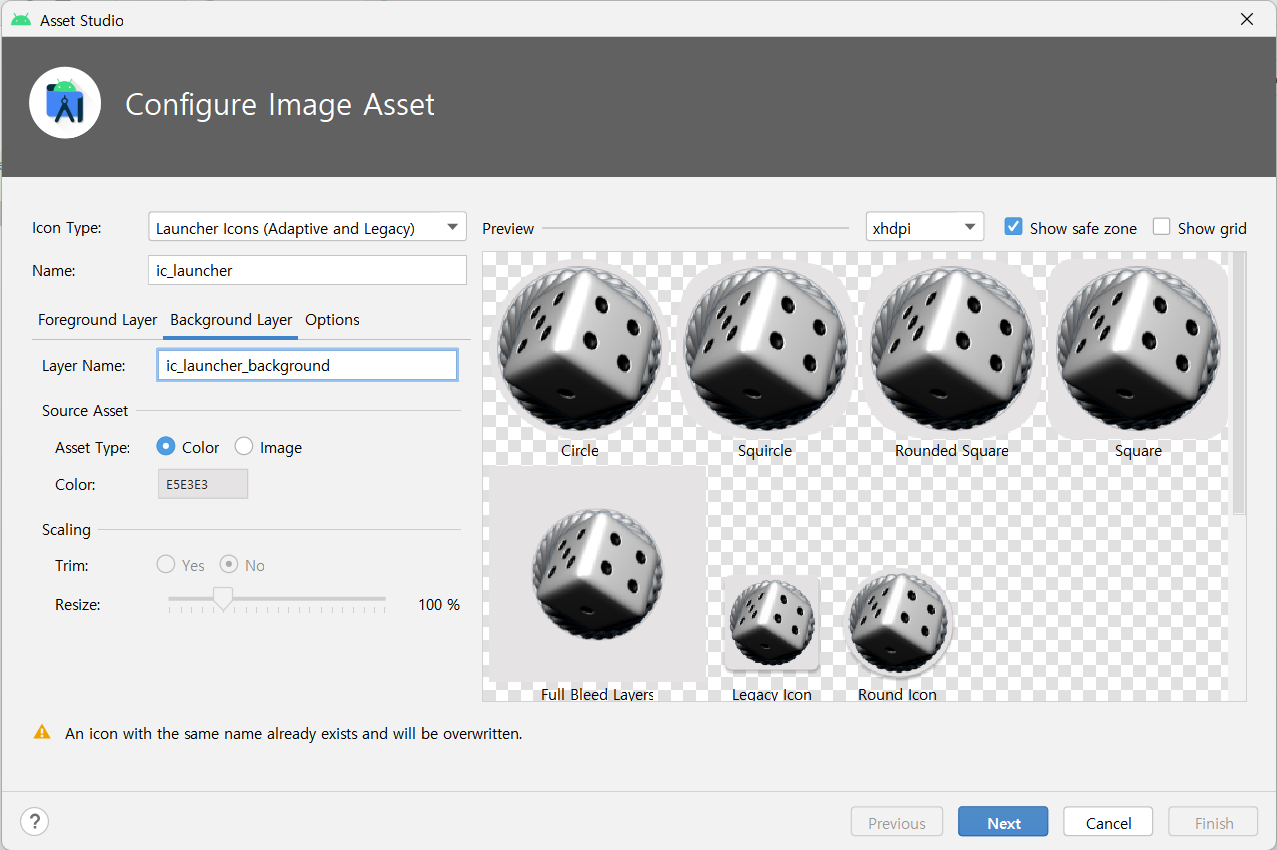
# 혹은 image를 선택해서 설정할수있다.
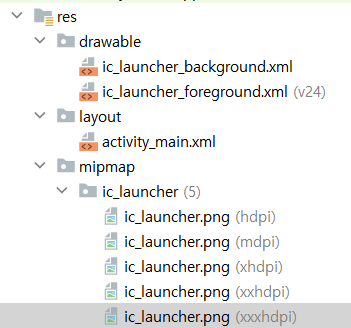
아이콘을 설정한 후 res의 drawable에서 아이콘 크기 데이터를 볼수있고
res의 mipmap에서 위에서 설정한 아이콘의 이미지 파일들을 확인할수있다.
아이콘으로 쓸 사진을 볼수있다.
한번 에뮬레이터로 실행해보자
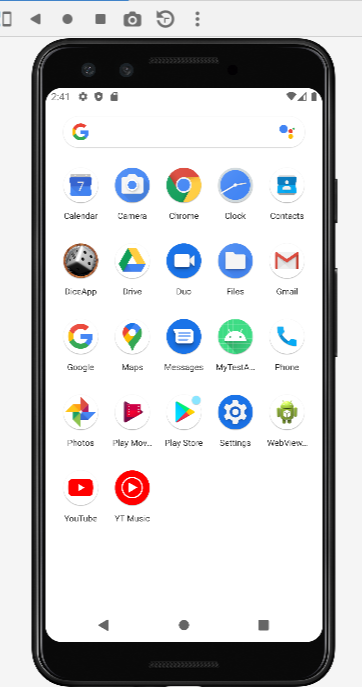
# DiceApp이라는 이름으로 앱이 생성된것을 볼수있다.
앱이름을 한글로 바꾸기위해 manifests의 AndroidManifest.xml로 이동하자.
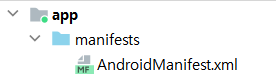
AndroidManifest.xml의 application에서 label을 확인해보면 "@string/app_name" 으로 되어있는것이 확인된다.
res의 values에서 string.xml에서 앱이름을 바꾼다,
<resources>
    <string name="app_name">주사위 앱</string>
</resources>
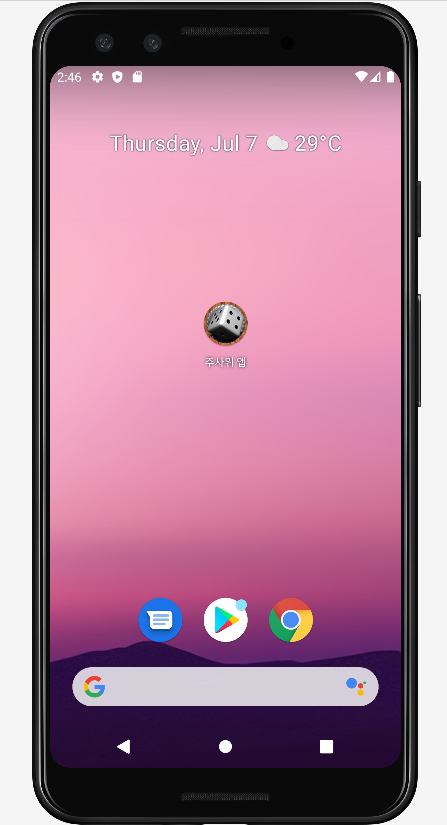
# 앱 이름이 바뀐것을 볼수있다.
앱이름을 Manifest에서 바로 바꾸지 않는 이유는 작업의 능률을 올리는 효과와 로컬라이징 하기 쉽기 위해서다,
# 로컬라이징은 현지 언어로 문장들을 바꾸는 등의 작업이다.
아래와 같이 앱이름 등이 나오는 부분을 액션바라고 한다.
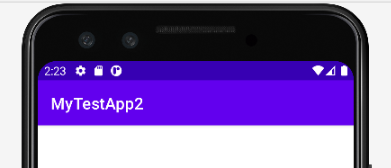
이 액션바의 색을 바꿀수 있다.
res - values - themes 에서 themes.xml로 이동하자.
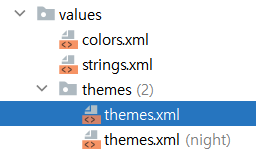
그럼 앱의 테마에 관련된 코드들이 있는데 그중에서 액션바를 설정하는 코드를 볼수있다.
colorPrimary는 액션바 안의 앱 이름이 나와있는 부분이며
colorPrimaryVariant는 그 위의 시간 배터리 등의 정보가 들어있는상태창이다.
<item name="colorPrimary">@color/purple_500</item>
<item name="colorPrimaryVariant">@color/purple_700</item>
# @color/ 다음에 넣고싶은 색을 넣어주면 된다.
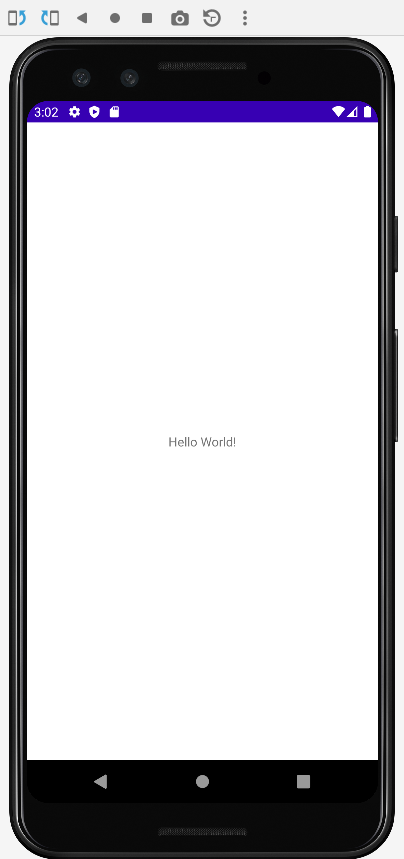
이제 엑션바를 제거해보자
DarkActionBar를 NoActionBar로 바꿔준다.
<resources xmlns:tools="http://schemas.android.com/tools">
    <!-- Base application theme. -->
    <style name="Theme.DiceApp" parent="Theme.MaterialComponents.DayNight.NoActionBar">
# (night) 버전도 똑같이 바꾼다.
그럼 액션바가 없어진것을 볼수있다.
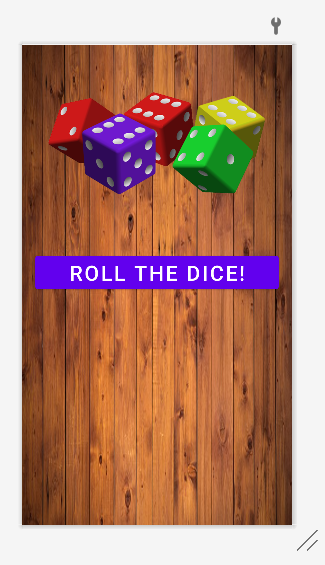
이제 화면 구성을 아래와 같이 설정해보자.

먼저 백그라운드 이미지를 복사해서 res의 drawable에 붙여넣는다.
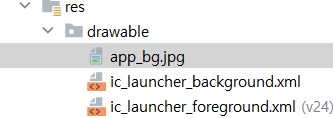
# 원래는 png파일을 사용한다.
※ 절대 하이픈 ' - '을 사용하지 않고 언더스코어 ' _ ' 를 사용해야 한다.
activity_main.xml 에서 코드모드로 text 부분을 지워서 레이아웃만 남긴다.
# layout이 먼저 있어야 하고 너비와 높이가 설정되어야 한다.
# 설정중 match_parent는 너비와 높이를 화면 전체에 맞추는것이다.
# wrap_content는 안에 있는 콘텐트의 크기와 거의 동일하게 크기를 설정하는것이다.
<?xml version="1.0" encoding="utf-8"?>
<androidx.constraintlayout.widget.ConstraintLayout xmlns:android="http://schemas.android.com/apk/res/android"
    xmlns:app="http://schemas.android.com/apk/res-auto"
    xmlns:tools="http://schemas.android.com/tools"
    android:layout_width="match_parent"
    android:layout_height="match_parent"
    tools:context=".MainActivity">


//이 부분을 지운다
    <TextView
        android:layout_width="wrap_content"
        android:layout_height="wrap_content"
        android:text="Hello World!"
        app:layout_constraintBottom_toBottomOf="parent"
        app:layout_constraintEnd_toEndOf="parent"
        app:layout_constraintStart_toStartOf="parent"
        app:layout_constraintTop_toTopOf="parent" />
//이 부분을 지운다


</androidx.constraintlayout.widget.ConstraintLayout>
그 후 백그라운드 코드를 작성하여 위에서 drawable에 저장한 백그라운드 이미지 파일을 백그라운드로 설정한다.
<?xml version="1.0" encoding="utf-8"?>
<androidx.constraintlayout.widget.ConstraintLayout xmlns:android="http://schemas.android.com/apk/res/android"
    xmlns:app="http://schemas.android.com/apk/res-auto"
    xmlns:tools="http://schemas.android.com/tools"
    android:layout_width="match_parent"
    android:layout_height="match_parent"
    // 백그라운드 코드
    android:background="@drawable/app_bg"
    tools:context=".MainActivity">
탑 이미지도 drawable에 저장한다.
그 후 Palette에서 imageview를 끌어와서 탑 이미지를 선택한다.
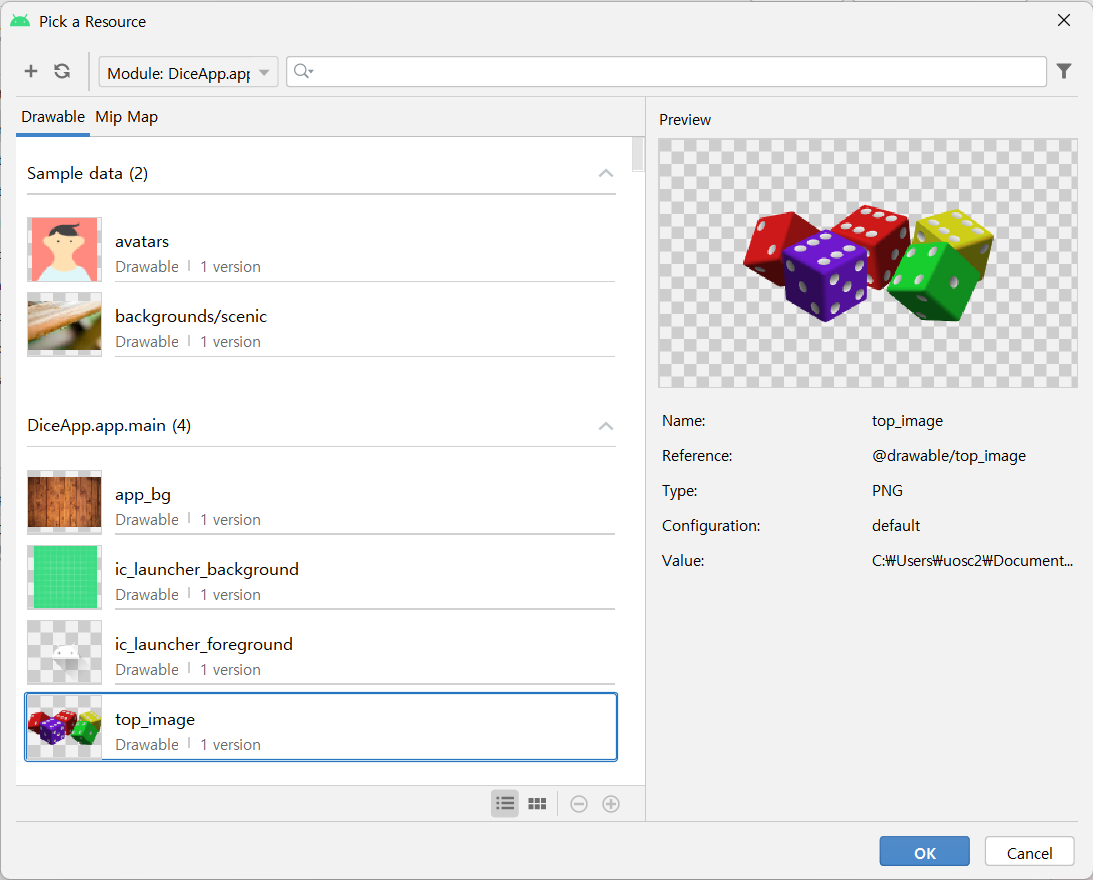
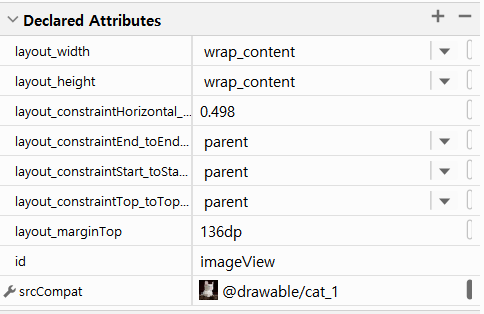
만약 사진을 잘못 가져와서 수정해야 한다면 Attributes에서 srcCompat의 오른쪽의 검은 부분을 눌러 수정할수있다.
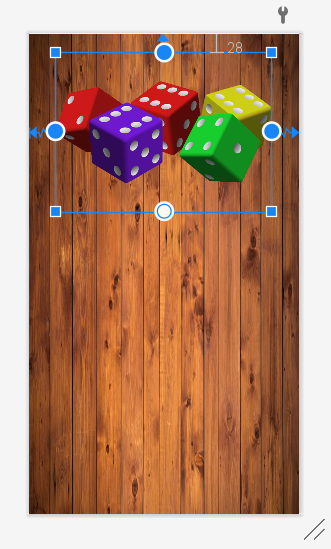
탑 이미지를 양옆과 위,아래에 있는 점들을 가장자리에 연결시켜서 위치를 인식할수있도록 한다.
코드로 들어가서 아이디 코드를 삭제한다.
    <ImageView
    	// 아이디 코드
        android:id="@+id/imageView"

        android:layout_width="330dp"
        android:layout_height="243dp"
        android:layout_marginTop="28dp"
        app:layout_constraintEnd_toEndOf="parent"
        app:layout_constraintHorizontal_bias="0.493"
        app:layout_constraintStart_toStartOf="parent"
        app:layout_constraintTop_toTopOf="parent"
        app:srcCompat="@drawable/top_image" />
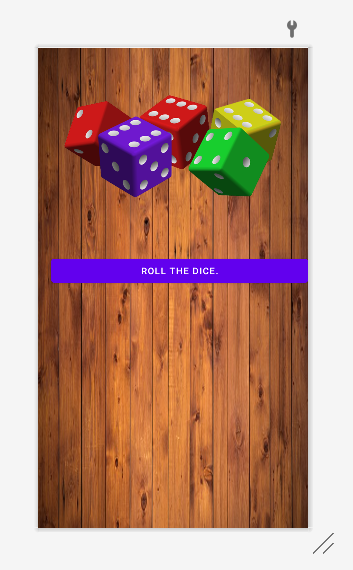
버튼도 만들어서 선을 연결시킨다.
그 후 코드에서 예시 이미지와 비슷하게 만들어 준다.
in:
	<Button
        android:id="@+id/button"
        android:layout_width="match_parent"
        android:layout_height="wrap_content"
        android:layout_marginTop="44dp"
        android:text="Roll the dice."
        android:layout_marginLeft="20dp"
        app:layout_constraintEnd_toEndOf="parent"
        app:layout_constraintHorizontal_bias="0.498"
        app:layout_constraintStart_toStartOf="parent"
        app:layout_constraintTop_toBottomOf="@+id/imageView2" />
out:
# 너비를 wrap_content에서 match_parent로 바꾸어 늘려준다.
# 택스트를 바꾸었다.
# layout_marginLeft를 설정하여 왼쪽에 공간을 만들었다.
오른쪽도 layout_marginRight로 마진을 주고 택스트의 사이즈도 키운다.
in:
        android:layout_marginRight="20dp"
        android:text="Roll the dice!"
        android:textSize="32sp"
out:
주사위 눈 1~6의 사진도 drawable에 넣는다.
그 후 주사위 두개 사진 아무 수의 주사위를 골라 넣는다.
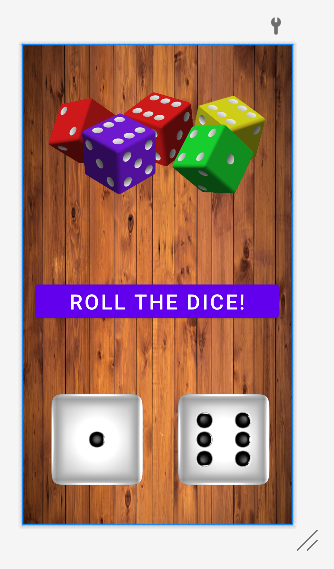
코드에서 backgroundTint로 버튼의 색도 바꾸자.
in:
android:backgroundTint="#683235"out:
이제 을 넣을건데 Manifest에서 어디에서 작업을 할지 알아보자.
Manifest의 activity를 확인하니 MainActivity에서 작업할수있다는것을 볼수있다.
        <activity
            android:name=".MainActivity"
            android:exported="true" >
MainActivity에서 작업하자.
객체 생성하여 버튼 연결하고 버튼을 작업할수있도록 코드를 작성하자.
// 화면에서 만든 버튼과 이미지들을 가져온다.
        Button button = findViewById(R.id.button);
        button.setOnClickListener(new View.OnClickListener() {
            @Override
            public void onClick(View view) {

            }
# findViewById를 사용하며 R 은 res를 뜻하고 id로 버튼의 id인 button을 가져왔다.
# setOnClickListener를 입력하고 new View까지 입력하면 오버라이딩 되면서 자동으로 완성된다.
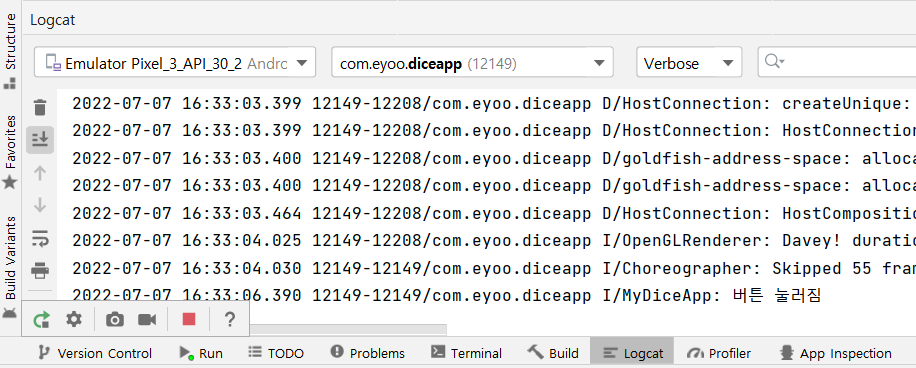
이 안에 로그가 기록될수있도록 만든다.
            public void onClick(View view) {
                Log.i("MyDiceApp","버튼 눌러짐");
            }
앱을 실행시키고 버튼을 누르면 Logcat에서 로그가 남겨진다.
주사위에서 사용될 랜덤기능을 넣는다.
먼저 랜덤으로 숫자를 하나 가져온다.
                Random random = new Random();
                int number = random.nextInt(6);
                Log.i("MyDiceApp","number : "+number)
# 경고문구를 클릭하여 임포트 한다.
# 로그도 남길수 있도록 했다.
# random.nextInt를 6으로 줘서 number가 0에서 5까지 나올수 있도록했다.
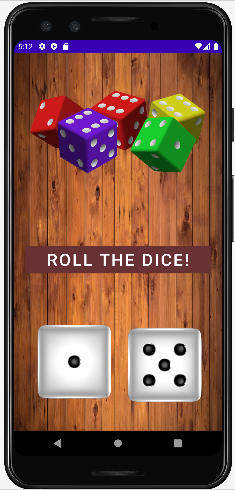
이제 그 숫자로 화면의 이미지를 바꿔주자.
먼저 멤버변수를 설정한다.
public class MainActivity extends AppCompatActivity {

    ImageView imgDice1;
그리고 if문을 사용해서 number와 사진을 연결시켜준다.
                if(number == 0){
                    imgDice1.setImageResource(R.drawable.dice1);
                } else if (number == 1){
                    imgDice1.setImageResource(R.drawable.dice2);
                } else if (number == 2){
                    imgDice1.setImageResource(R.drawable.dice3);
                } else if (number == 3){
                    imgDice1.setImageResource(R.drawable.dice4);
                } else if (number == 4){
                    imgDice1.setImageResource(R.drawable.dice5);
                } else if (number == 5){
                    imgDice1.setImageResource(R.drawable.dice6);
                }
# res의 drawable에 있는 사진의 이름을 입력했다.
두번째 주사위도 위의 방법대로 해보자.

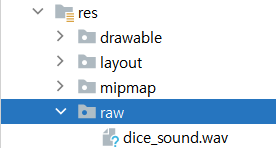
주사위를 던질때 소리도 나게 하자.
res에 raw라는 디렉토리를 만든 후 wav파일을 복사, 붙여넣기 한다.
먼저 변수 설정을 하고
    ImageView imgDice1;
    ImageView imgDice2;
    MediaPlayer mp;
사운드 파일도 가져온다.
        Button button = findViewById(R.id.button);
        imgDice1 = findViewById(R.id.imgDice1);
        imgDice2 = findViewById(R.id.imgDice2);

        mp = MediaPlayer.create(this,R.raw.dice_sound);
버튼을 클릭했을때 사운드가 나오게 한다.
        button.setOnClickListener(new View.OnClickListener() {
            @Override
            public void onClick(View view) {
                Log.i("MyDiceApp","버튼 눌러짐");

                mp.start();
# 에뮬레이터로 실행하고 버튼을 누르니 주사위 던지는 소리도 나고 주사위 눈도 바뀐다
'Android' 카테고리의 다른 글
| [Android] 사용자에게 데이터 받기: EditText, getText, setText (0) | 2022.07.08 |
|---|---|
| [Android] 기본적인 UI 활용: text, background, layout, margin, padding, gravity, visibility (0) | 2022.07.08 |
| [Android] 주사위 앱 실습: 오픈소스 라이브러리 적용 (0) | 2022.07.08 |
| [Android] 새로운 프로젝트 만들기: 에뮬레이터 및 SDK 설정, 버튼 만들기 (0) | 2022.07.07 |
| [Android] 안드로이드 개발환경을 위한 세팅 (0) | 2022.07.07 |


댓글