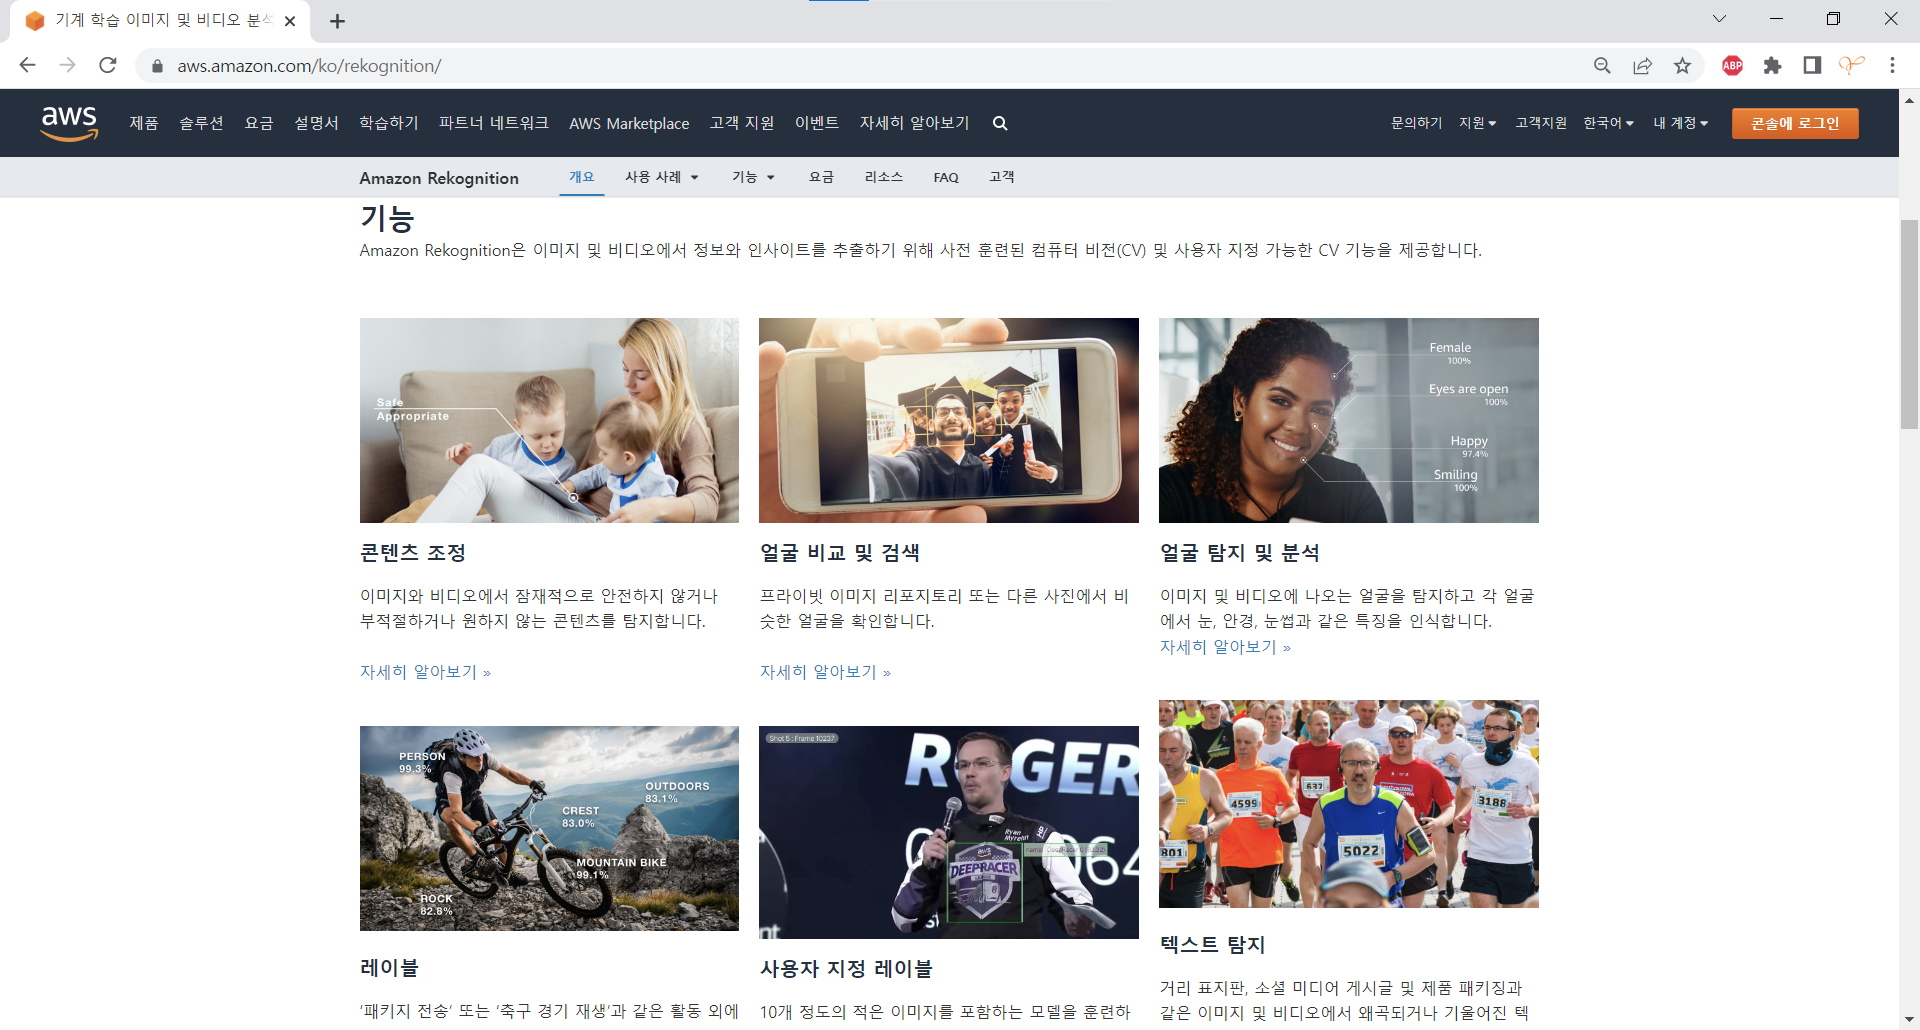
AWS에서 제공하는 머신러닝을 통한 이미지 및 비디오 분석 API인 Rekognition을 사용해보자

AWS Rekognition 참고:
Amazon Rekognition 란 무엇입니까? - Amazon Rekognition
기계 번역으로 제공되는 번역입니다. 제공된 번역과 원본 영어의 내용이 상충하는 경우에는 영어 버전이 우선합니다. Amazon Rekognition 란 무엇입니까? Amazon Rekognition Rekognition을 사용하면 애플리케
docs.aws.amazon.com
Rekognition 레이블감지 메뉴얼:
https://docs.aws.amazon.com/ko_kr/rekognition/latest/dg/labels-detect-labels-image.html
이미지에서 레이블 감지 - Amazon Rekognition
이 페이지에 작업이 필요하다는 점을 알려 주셔서 감사합니다. 실망시켜 드려 죄송합니다. 잠깐 시간을 내어 설명서를 향상시킬 수 있는 방법에 대해 말씀해 주십시오.
docs.aws.amazon.com
AWS에서 제공하는 메뉴얼을 참고하여 코드를 작성해보자.
import boto3

class ObjectDetectionResource(Resource):

    def get(self):
        # 클라이언트로부터 데이터를 받아온다.

        filename = request.args['filename']

        # 위의 파일은 S3에 저장되어있어야한다.

        client = boto3.client('rekognition',
                            'ap-northeast-2',                               # region
                            aws_access_key_id = Config.ACCESS_KEY,          # ACCESS_KEY
                            aws_secret_access_key = Config.SECRET_ACCESS)   # SECRET_ACCESS

        response = client.detect_labels(Image = {
                                                'S3Object' : {
                                                        'Bucket' : Config.S3_BUCKET,
                                                        'Name' : filename
                                                        }},
                                        MaxLabels = 10)


        # AWS에서 제공한 이미지 레이블 메뉴얼
        for label in response['Labels']:
            print ("Label: " + label['Name'])
            print ("Confidence: " + str(label['Confidence']))
            print ("Instances:")
            for instance in label['Instances']:
                print ("  Bounding box")
                print ("    Top: " + str(instance['BoundingBox']['Top']))
                print ("    Left: " + str(instance['BoundingBox']['Left']))
                print ("    Width: " +  str(instance['BoundingBox']['Width']))
                print ("    Height: " +  str(instance['BoundingBox']['Height']))
                print ("  Confidence: " + str(instance['Confidence']))
                print()

            print ("Parents:")
            for parent in label['Parents']:
                print ("   " + parent['Name'])
            print ("----------")
            print ()

        return{'result':'success',
                'Labels':response['Labels']}, 200
# boto3.client로 사용환경을 설정한다.
# 차례로 서비스명, 지역코드, 엑세스 키, 시크릿 엑세스를 설정했다.
# client.detect_labels로 label을 찾을 사진을 설정한다.
# Config에서 S3_BUCKET을 버킷 이름으로 저장했다.
# MaxLabels에서는 최대로 나올수있는 Label의 수를 조정할수있다.
결과 (JSON) :
{
    "result": "success",
    "Labels": [
        {
            "Name": "Apple",
            "Confidence": 99.8238296508789,
            "Instances": [
                {
                    "BoundingBox": {
                        "Width": 0.5975973606109619,
                        "Height": 0.43609619140625,
                        "Left": 0.06926503777503967,
                        "Top": 0.4644283056259155
                    },
                    "Confidence": 99.8238296508789
                },
                {
                    "BoundingBox": {
                        "Width": 0.4700905382633209,
                        "Height": 0.601180911064148,
                        "Left": 0.5224258303642273,
                        "Top": 0.2239096313714981
                    },
                    "Confidence": 99.03327178955078
                },
                {
                    "BoundingBox": {
                        "Width": 0.49573227763175964,
                        "Height": 0.4194662868976593,
                        "Left": 0.037997640669345856,
                        "Top": 0.15924520790576935
                    },
                    "Confidence": 58.173316955566406
                }
            ],
            "Parents": [
                {
                    "Name": "Fruit"
                },
                {
                    "Name": "Plant"
                },
                {
                    "Name": "Food"
                }
            ]
        },
        {
            "Name": "Plant",
            "Confidence": 99.8238296508789,
            "Instances": [],
            "Parents": []
        },
        {
            "Name": "Fruit",
            "Confidence": 99.8238296508789,
            "Instances": [],
            "Parents": [
                {
                    "Name": "Plant"
                },
                {
                    "Name": "Food"
                }
            ]
        },
        {
            "Name": "Food",
            "Confidence": 99.8238296508789,
            "Instances": [],
            "Parents": []
        }
    ]
}
여기에 반복문을 추가하여 DB에 차례로 Label을 저장할수있다.
사용예시:
    for label in response['Labels']:
            # label['Name'] 이것을 태그이름으로 사용할것.
            try :
                connection = get_connection()

                query = '''select *
                            from tag_name
                            where name = %s;'''

                record = (label['Name'],)

                cursor = connection.cursor(dictionary = True)

                cursor.execute(query, record )

                result_list = cursor.fetchall()


                if len(result_list) == 0:
                    # 태그이름을 insert한다.
                        connection = get_connection()

                        query =  '''insert into tag_name
                                    (name)
                                    value
                                    (%s);'''

                        record = (label['Name'],)

                        cursor = connection.cursor()

                        cursor.execute(query, record)

                        connection.commit()
                        # 태그네임의 아이디 가져온다.
                        tag_name_id = cursor.lastrowid

                else:
                    tag_name_id = result_list[0]['id']

                # 포스팅 아이디와 태그네임아이디를 tag테이블에 insert 한다.
                connection = get_connection()

                query =  '''insert into tag
                            (tagId, postingId)
                            value
                            (%s, %s);'''

                record = (tag_name_id, posting_id)

                cursor = connection.cursor()

                cursor.execute(query, record)

                connection.commit()


                cursor.close()
                connection.close()

            except Error as e :
                print(e)
                cursor.close()
                connection.close()
                return {"error":str(e), 'error_no':20}, 503


        return {'result':'sucess'}
# label['Name']으로 Label명을 하나씩 가져온다.
'백엔드 > API' 카테고리의 다른 글
| [API] 서비스 배포 전 SQL문 Index 작업 (0) | 2022.06.30 |
|---|---|
| [API] 네이버 API 이용하기 (0) | 2022.06.27 |
| [API] S3로 파일 업로드하는 API (0) | 2022.06.24 |
| [API] AWS S3 버킷 만들기 (0) | 2022.06.24 |
| [API] AWS IAM 사용자 설정 (0) | 2022.06.23 |


댓글