[Android] UI 이미지, 레이아웃 편집: scale, LinearLayout
ScaleType으로 이미지를 화면에 어떻게 맞출지 정할수있다.
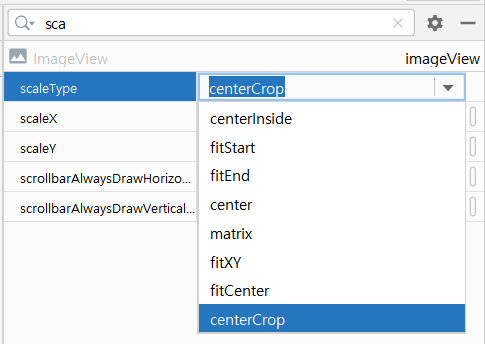
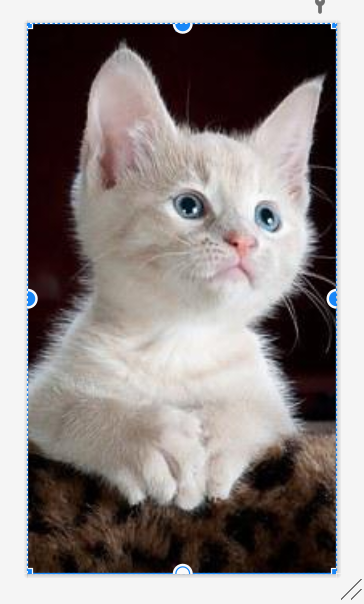
CenterCrop을 선택하면 화면에 맞게 가장자리가 잘려나간다.
※ 가끔 이미지가 나오지 않을 경우가 있다. 그때는 tool의 소스를 사용하는것이 아닌 Android의 소스를 사용해야한다.
android:src="@drawable/cat_image"
레이아웃은 위의 사진과 같은 콘텐츠를 담는 그릇이라고 생각하면 된다.
지금까지 사용하고 있던 레이아웃은 constraintLayout이다.
constraintLayout은 콘텐츠가 많은경우 모두 연결해야 하는 불편함이 있는데
영역을 지정하는 레이아웃인 LinearLayout을 사용하여 이 점을 보완할수있다.
vertical LinearLayout을 넣고 가장자리에 연결한다.
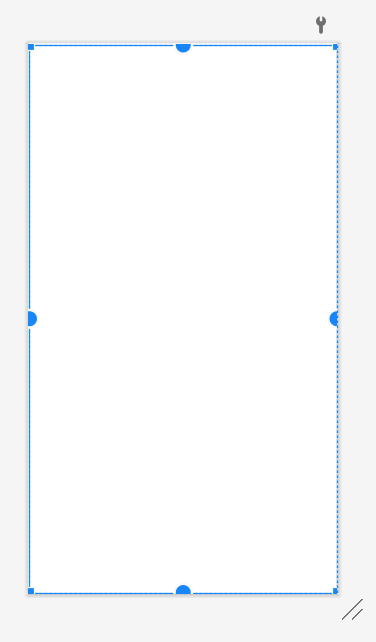
# height와 width도 0dp로 설정한다.
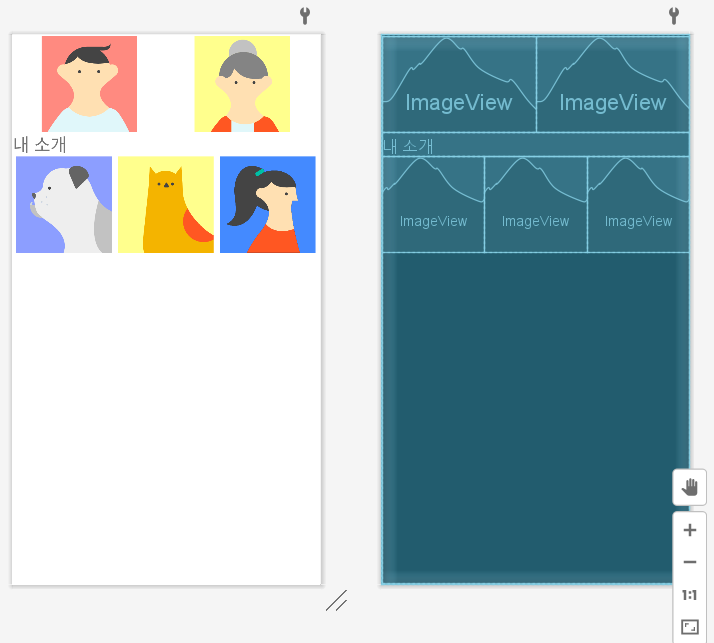
그 후 이미지와 텍스트 그리고 버튼을 넣어보자.
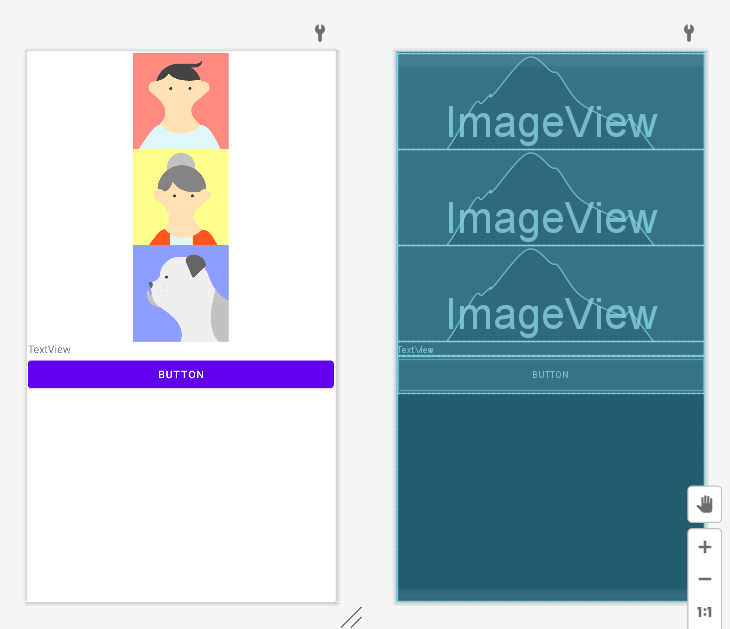
하나씩 위에서 아래로 채워지는것을 볼수있다.
다시 모두 지우고 horizontal 레이아웃을 vertical 레이아웃 속에 넣는다.
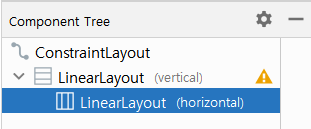
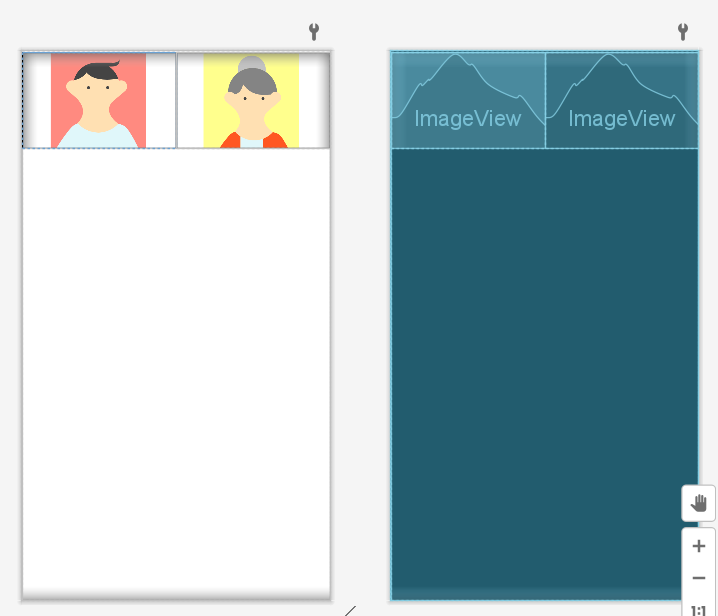
영역을 나누기 위한 레이아웃이므로 콘텐츠에 맞추기위해 layout_height를 wrap_content로 바꿔준다.
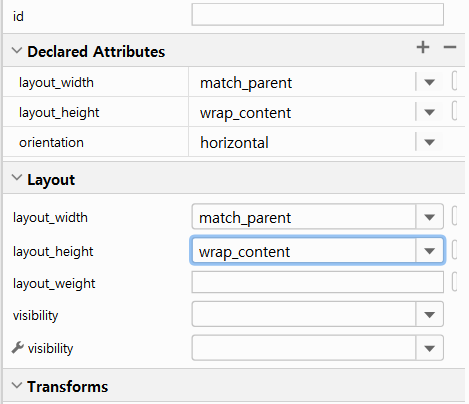
그럼 레이아웃의 길이가 사진의 크기에 맞게 설정된다.
이제 방금의 호리존탈 레이아웃 밑에 또 텍스트를 넣는다
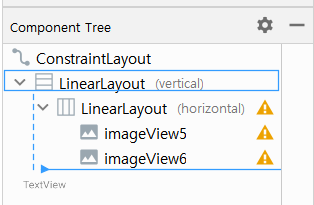
그 후 다시 버티컬 레이아웃에 호리존탈 레이어를 넣고 사진 3개를 넣는다.
맨 위의 두번째 그림을 지우고 그 위치에 버티컬 레이아웃을 넣고 텍스트 두개를 넣는다.
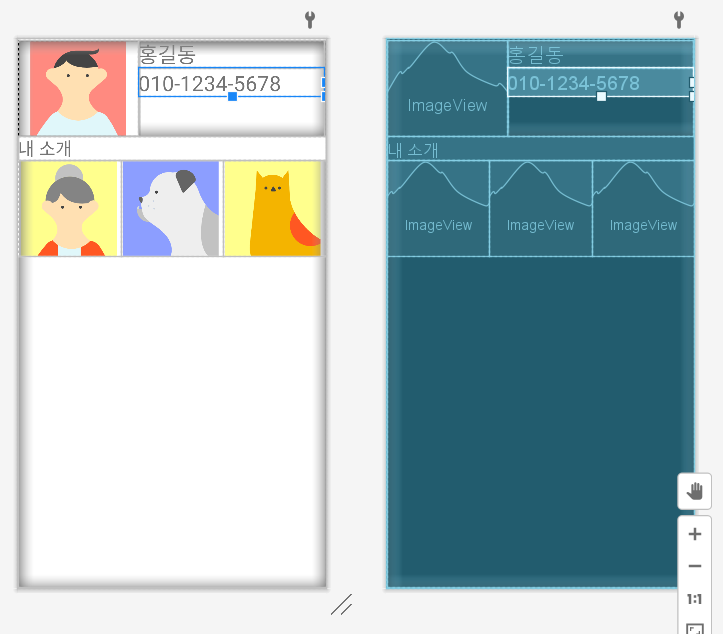
# 이름과 전화번호를 넣었다.
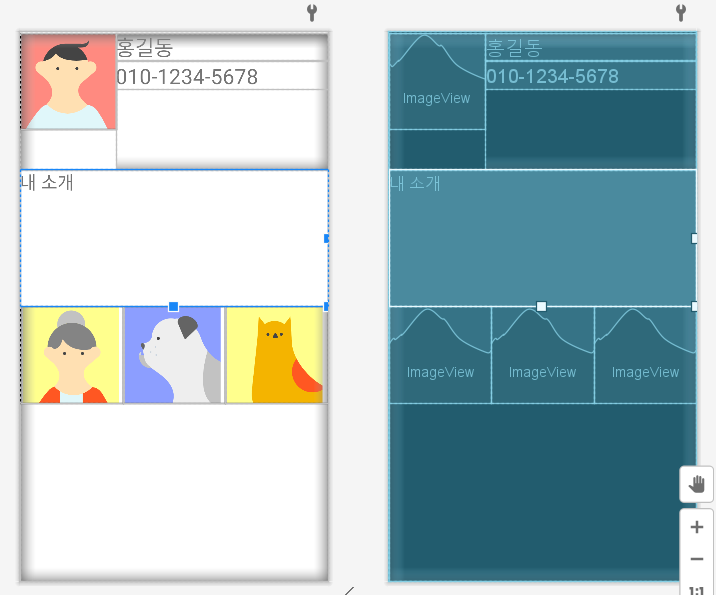
총 3개의 색션으로 나뉘어져있는것을 알수있는데
큰 3개의 색션을 layout_heght에 0dp를 주고 layout_weght에 1혹은 2를 줘서 비율로 크기를 맞춰줄수있다.
리니어 레이아웃을 사용할때는 단순히 컨텐츠를 이동시켜서 움직일수 없다.
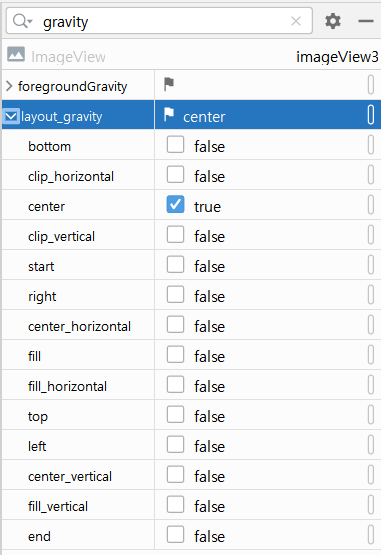
대신 layout_gravity를 사용하여 정렬할수있다.
리니어 레이아웃을 사용한 예:
    <LinearLayout
        android:layout_width="409dp"
        android:layout_height="729dp"
        android:orientation="vertical"
        app:layout_constraintBottom_toBottomOf="parent"
        app:layout_constraintEnd_toEndOf="parent"
        app:layout_constraintStart_toStartOf="parent"
        app:layout_constraintTop_toTopOf="parent">

        <ImageView
            android:id="@+id/imageView3"
            android:layout_width="200dp"
            android:layout_height="200dp"
            android:layout_gravity="center"
            android:layout_marginLeft="30dp"
            android:layout_marginTop="60dp"
            android:layout_marginRight="30dp"
            android:layout_marginBottom="30dp"
            android:scaleType="centerCrop"
            app:srcCompat="@drawable/cat_1" />

        <EditText
            android:id="@+id/editBirth"
            android:layout_width="match_parent"
            android:layout_height="wrap_content"
            android:layout_margin="20dp"
            android:ems="10"
            android:hint="고양이 태어난 년도 입력"
            android:inputType="number"
            android:minHeight="48dp" />

        <Button
            android:id="@+id/button"
            android:layout_width="wrap_content"
            android:layout_height="wrap_content"
            android:layout_gravity="center"
            android:layout_margin="20dp"
            android:text="생일 계산하기"
            android:textSize="26sp" />

        <TextView
            android:id="@+id/textAge"
            android:layout_width="wrap_content"
            android:layout_height="wrap_content"
            android:layout_gravity="center"
            android:layout_margin="20dp"
            android:textSize="32sp" />
    </LinearLayout>
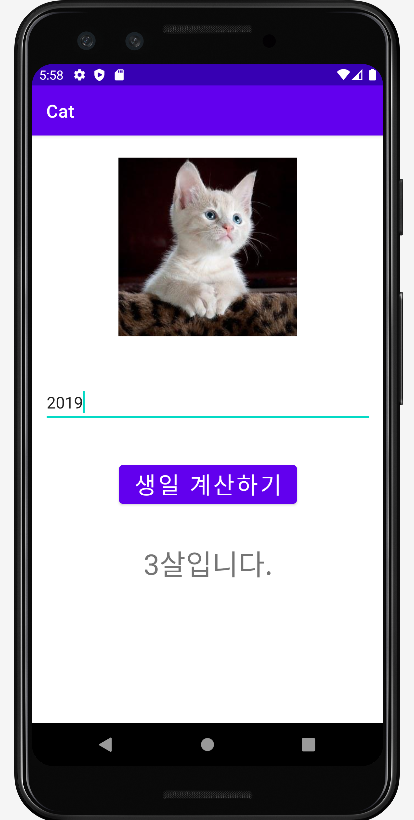
위 의 세팅으로 만든 앱:
    EditText editBirth;
    Button button;
    TextView textAge;

    @Override
    protected void onCreate(Bundle savedInstanceState) {
        super.onCreate(savedInstanceState);
        setContentView(R.layout.activity_main);

        editBirth = findViewById(R.id.editBirth);
        button = findViewById(R.id.button);
        textAge = findViewById(R.id.textAge);

        button.setOnClickListener(new View.OnClickListener() {
            @Override
            public void onClick(View view) {

                // 유저가 입력한 년도와 계산
                // 현재년도 - 유저가 입력한 년도
                String birth = editBirth.getText().toString();

                // 나이를 화면에 표시한다.
                int now = Calendar.getInstance().get(Calendar.YEAR);

                int year =  Integer.valueOf(birth).intValue();

                int age = now - year;

                textAge.setText(age+"살입니다.");